
The NEMO firmware allows the ESP32 board within the M5StickC devices & Cardputer to scan, sniff, and attack Wi-Fi and Bluetooth-enabled devices (and even TVs via Infrared). Now, since you’re obviously here to be a 100% ethical hacker with no malice in your intentions and are trying to “make the world a better place” with your tiny lil’ orange cuboid — let’s help you get NEMO installed on it!
More of a video-tutorial person than a reader? Watch the tutorial here:
Step 1: Downloading the necessary files
Download the M5Burner tool from here.
That’s it. Just download it. No elaborate sub-steps within this step. Now, this “paragraph” is awkward…
Step 2: M5Burner
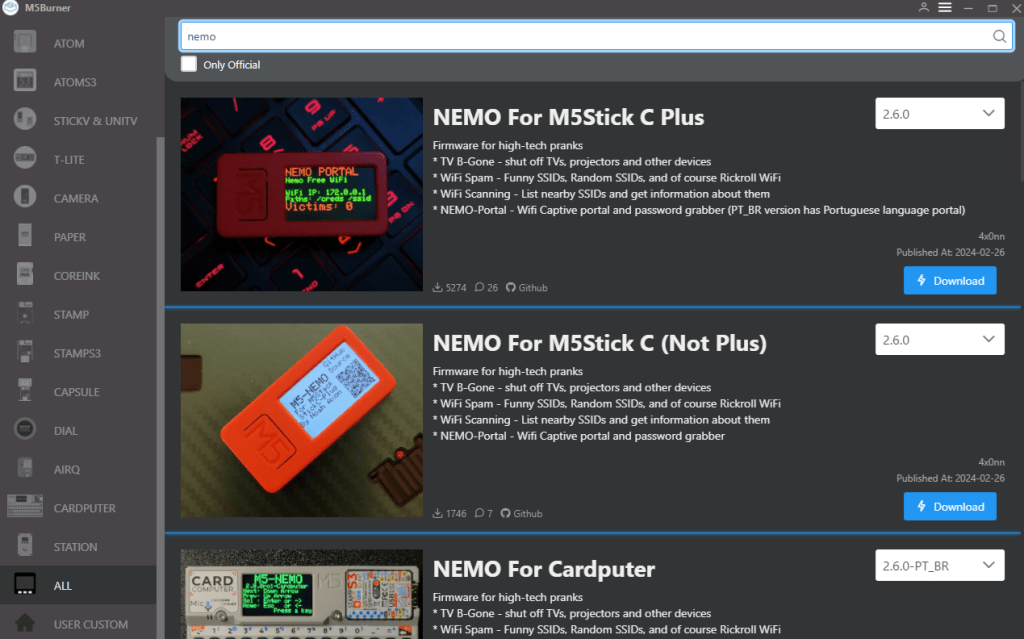
Extract the downloaded .ZIP file’s contents, and run the M5 burner executable. Let it load, then select the device type as “ALL”. Then, search for “nemo”, and you’ll see NEMO firmware for the M5StickC (non-plus), M5StickC Plus, M5StickC Plus 2, and even the Cardputer devices.
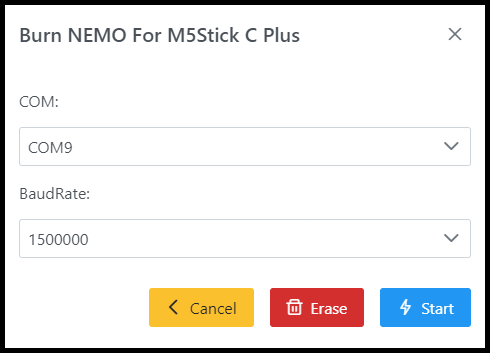
Connect your M5 device, click “Download” next to your device in M5Burner, and then click “Connect your M5 device, click “Download” next to your device in M5Burner, then, “Burn”, and then “Start” to begin the flashing/installation.
Step 3: Installation complete
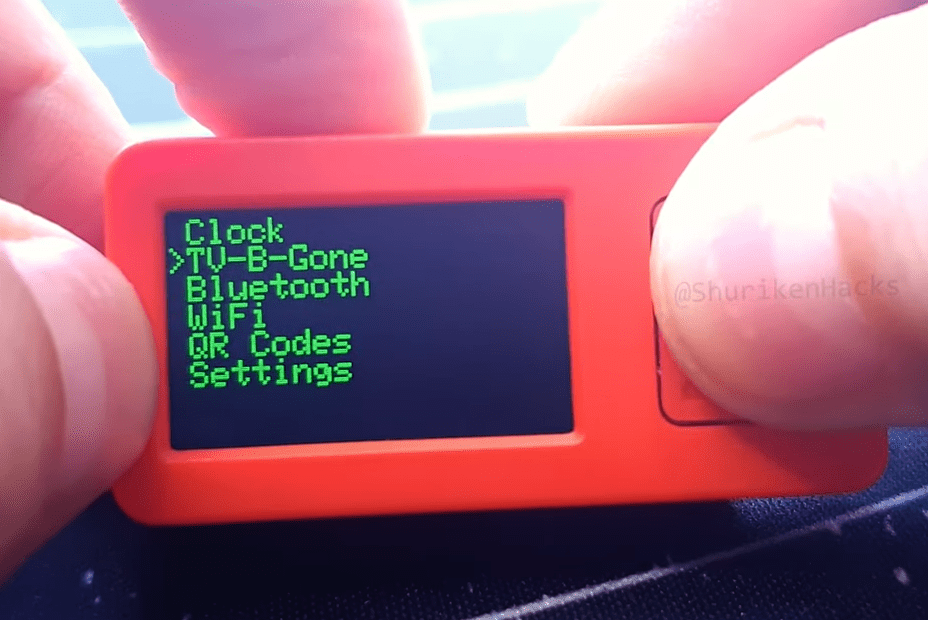
Once the flashing/installation has completed, you’ll see your M5 device boot into NEMO. No resetting is required since the installation process already takes care of that.
That’s it! You’ve installed NEMO, and are set to be an ethical, positive, use-superpowers-for-good-only hacker!
Disclaimer: This exists for the purposes of education, research, and experimentation with devices you yourself own. We neither endorse nor shall be held responsible for any potentially unethical or malicious activity from your usage of this.
